Showing posts with label Decorations. Show all posts

Wednesday, June 25, 2014

That time I became a carpenter.


When I move into a new place I go somewhat comakazi in the decorating department. I walk in and I see all of my “For the Home” Pinterest boards coming to life. Brandon sees trouble.

The first thing that I wanted to add to our humble abode was an entry table. I’ve never had one and they always look so endearing and welcoming. We scourged the isles of the furniture monstrosity also known as Ikea, which is an adventure in itself. It left us tableless so we traipsed through Target, frolicked through Furniture Row, and hustled through Hobby Lobby. To no avail a cute entry table was not to be found. I had a pretty specific area it needed to fill, and an idea in my head that it needed to live up to.

What I did tumble into was a website outlining how to build your own table, and that's exactly what I decided to do. You can visit said website here. She didn’t give specific instructions, so it made it a little tricky for me, especially since this was my first time ever building a table. Because I am feeling generous, and I’m downright proud of my accomplishment, I will give you some basic instructions and photos if you would also like to become a carpenter as well.

Happy building!

Supplies:
Wood Glue
Hammer
Nails
Sander
Stain
Paint
Paint brushes
Gloves
Tape Measurer
Cute little knobs (I got mine from Hobby Lobby)
The Wood:
Table Top: 1” (thickness) x36” (length) x17.5”(depth)
Legs: I bought 2 2x2’s and had the nice man at home depot cut them in 31” lengths
Front/back: 2 1x6 pieces cut 31.5" long
Sides: 2 1x6 boards cut 10" long
Bottom supports: 2 2x2’s cut 31.5” long and 2 more cut 10” long.
Bottom Slats: 5 1x6 boards 12” long
Drawers: 3 1x4 cut inch 8” lengths
1. Put the legs, sides, and back piece on top of the top piece. Make sure that when you glue them all together they touch. This was a little tricky. At first I glued then put the back piece in and it was waaay off. I had to gauge it all then glue again. I did measure it to make sure it was even all around. 
2. It needs to dry for about an hour before you can nail it in. While it's drying put together the front piece. 
3. Sand down the front piece and the drawers. Glue them on and let them dry. 
4. When everything is dry nail them all in. I included my handy husband in this part. He's a much better nailer :)
 You can see that we put two nails in each side. This helped make it extra sturdy. 
5. Now it's time to work on the bottom part. Glue the bottom 2x2 supports about 5 inches up from the ground. Like with the top part, make sure they are all nice and snug. You don't want any gaps in those. Let them dry for an hour or so.
6. Then nail those suckers in. 
7. Place the slats evenly on the 2x2 supports. Glue them, and once they're dry nail them in. When everything is nailed in give the table a good sand. Take off those rough edges and get it paint ready.
8. Stain away!
 I stained the entire table, but later realized this was totally unnecessary. 
 9. I chose to paint the entire table, except for the top, white. The paint was a little too shiny and thick for my tastes-but there was no way I was going to Home Depot again.
10. Let the paint dry, add the knobs, then wa-la! Let me present the table.
One of the reasons I wanted a table so bad was because we didn't have anywhere to keep our keys. They were scattered everywhere and it was driving me crazy. 
And there you have it folks, a homemade entry way table. It was the little adventure to build, and something exciting and different to try. And really, it wasn't too hard. Have fun becoming a carpenter.

Wednesday, September 19, 2012

a little decorating and a lot of photos.

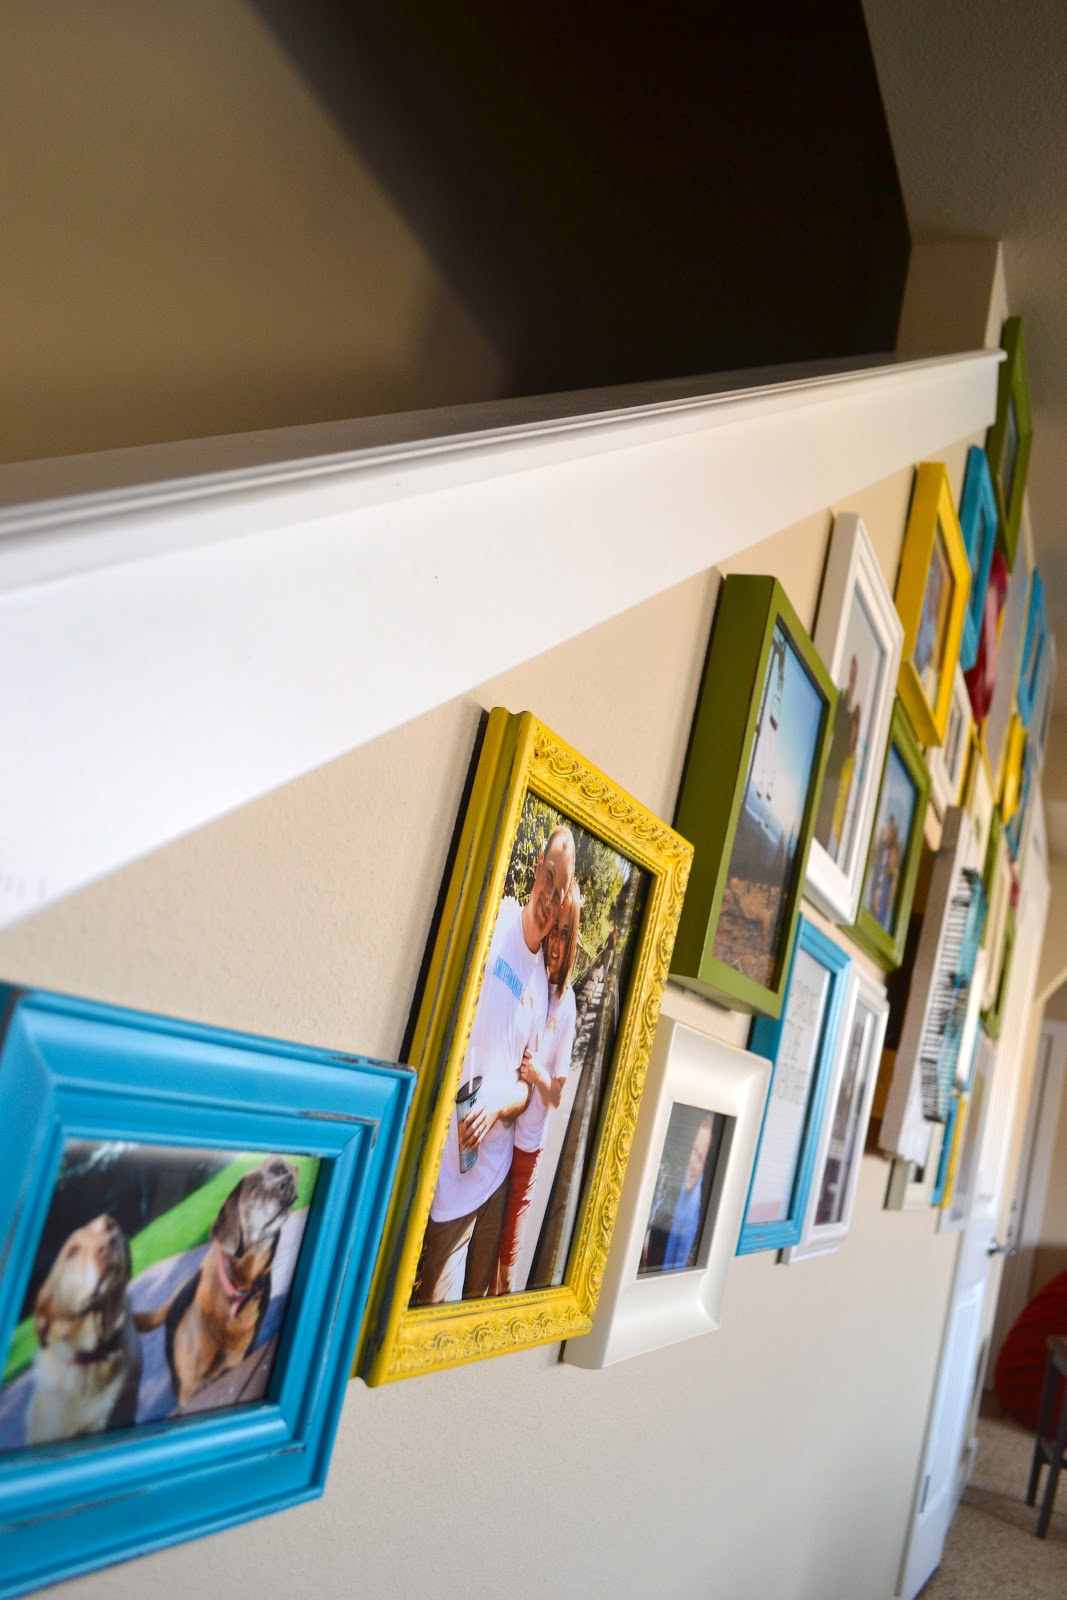
My craftiness has reached extreme limits these last few weeks. Like, my life revolves around Hobby Lobby coupons and Pinterest craft boards. And let me tell you, both of those categories are dangerous. Very dangerous. But, this crafting obsession of mine usually takes over when we move into a new apartment. New walls need decorating and rearranging needs to be completed. The major project I embarked on this time around was my gallery wall. We had one in our last apartment but it was borderline pathetic. I mean, I liked it but it lacked some necessary photo gallery necessities. I've looked at tons of tons of examples and have read lots of tutorials, and have spent more time than is probably advisable designing and creating it. . And now, it is done. Yay! There are a few things I would change next time around and some things that I especially enjoy, but mostly I love the bright new colors and all of the fun family photos. Now, I am going to flood with you more pictures than you would probably ever like to see, but I am just so dang excited about it :)
Ta da!
The planning process..
Lots of spray painting was involved, obviously the orange didn't quite make the cut..
A very necessary side view..
This one took a little more thought, but I found the idea here and couldn't resist!
These little guys were a steal of a deal at Hobby Lobby and I quite enjoy them.
I love that circle frame and that big S.
I really like this. I got the idea from Pinterest and it just seemed so fitting for our lives and our photo wall and just a nice little reminder.
I couldn't resist adding this little gem in here.
I think this photo is so classic. Brittany's facial expression and Fallon looking so uncomfortable and Seth looking so so so awkward.
Now, a lot of the pictures are crooked, and the colors don't totally match, and I really need something underneath the photos like a side table or something, or the photos need to go to the bottom...really there's more than one problem. But, I like it. A lot. It's so fun to have all of these to look at and reminiscence. Ahh, crafting is really a good thing.

Tuesday, January 10, 2012

Yay for family.

Do you remember my really neat picture wall that made its debut around Christmas? (So maybe it's not that neat..but I sure like it!) Well, it's growing. And it's changing. A few pictures had to be swapped, considering the whole theme was winter and Christmas and really fun things like that. I mean, it just would not have worked if I kept my most favorite Grinch quote on the wall all year. And since I did get a super sweet camera and took some not as sweet pictures with it, it needed a change. And maybe you are starting to realize that I kind of have a slight obsession with crafts that center around decorating and pictures. Now you are probably thinking, "This girl is so silly. She could have saved herself the trouble and left all of the winter pictures up because it is still winter and will be winter in Idaho for at least 5 more months." But, don't worry confused reader, you will receive an almost sound explanation a little later.

But, the point is, my wall got a makeover. One of my favorite additions to the wall (besides pictures of our two nephews and our niece and all of the other members of our family) is The Family: A Proclamation to the World. 

See, up until this point we haven't had one in our home. I mean we do have one. It's just in a drawer somewhere. And that somewhere is awfully intimidating because usually when it's just somewhere in a drawer it is an adventure in itself to find it. And Brandon doesn't necessarily like when I embark on those adventures because I tend to empty out all thirteen drawers in a state of panic (kind of like I did tonight to all of our cupboards to find the apple cider vinegar...) and sometimes forget to put everything away. And since Photoshop and I have become such good friends I decided to make one that could fit into our 18 X 20 picture frame. It worked out quite well and I am pleased we now have one visible in our home.


If you can read that writing I applaud you. But if not just visit here and read it, it's quite wonderful!
We added some lovely family pictures and kept a few from before. Don't worry, that dashing one of Brandon still remains.
And here is the whole wall in all its glory. Just ignore my shadow there...

And here is the original print, feel free to snag it!

So, as you might have guessed our new wall theme is family. Yay for family! Brandon and I will always be pleased to announce that we love our families very much. They are simply wonderful! And since families are the most important thing of all they deserve to be recognized and remembered. Hopefully I can continue to grow our little wall with more cherished memories of family and fun times. Until then I will spend countless hours staring at the crooked picture and large gaps in our never perfect but always wonderful family collage.

Have a happy late Tuesday night!

Tuesday, December 6, 2011

Happy December.

Seriously, HAPPY DECEMBER! I just love December. It's hands down my favorite month. So many lovely things happen in December. Christmas and my birthday to name a few..

And, in December I get to redecorate and almost have an excuse to buy new pretty things. Are you starting to see the beauty of the month December? I hope so.

If you haven't put your decorations up, shame on you. But don't you worry, it's only the 6th so you have approximately 18 days left to bring some Christmas spirit in your home. Really I am just doing this for you, I don't want you to feel like little Cindy Lou Who when she sang "Where Are You Christmas?".

You can start with a nice festive wreath. 
I got the idea for this one from this website. It was like super easy and super cheap and super quick. Three great supers.

Another thing I did to add to the feeling of Christmas in our little apartment was change some pictures around. This was the final product.
I love that picture of Brandon right there. Can you say winter apparel model?
 Well most of it, I suppose you can't see the outside of it. I got that large print from here, the scripture reference print from here, and the Grinch one I made myself.

And finally a few gifts under the tree don't hurt either. 
Don't be fooled. We simply wrapped empty boxes to make it appear as if we are getting presents.

But, you don't need big things to bring in that extra Christmas spirit. Even a little Clay Aiken Christmas music in the background should do the trick :)

The rest of our festive decorations will make an appearance in another post. 
Until then, have a happy Tuesday!

Wednesday, October 5, 2011

Fall love.

Fall is here! And I love it. It felt very official today considering 61 was the high in Idaho Falls and it rained on and off throughout the day. To commemorate this cold weather we ate beef stew and homemade rolls. Ahh, fall does have its perks. Like this:

Island Park on Sunday. Aren't the leaves fabulous?
But really, fall you're wonderful. How have I never noticed you before? Wait, it's because I lived in Arizona and there is no such thing as leaves changing colors there. But seriously I think that fall might be my second favorite season (summer is obviously my favorite). I think part of this comes from the fall colors, decorations, crisp mornings, pumpkins, sweaters; I could go on and on. But, right now it's the decorations. I have been dying to put up my fall decorations (all three of them) for a while, but Brandon wouldn't let me. I mean, technically the first day of fall was just a week or so ago...

Their debut was just yesterday and it is oh so fantastic. With the pumpkin candle burning it feels very legitimate. I wish I could decorate my apartment like this, but since I have like 1/16 the space and budget, I had to improvise. Below are my sad attempts at decorating:


It's just about the effort, right?

If you are looking for some fall-ish like crafting ideas this website as some good ones. I am tempted to make that fall table runner mat for my coffee table, or even one of those grapevine pumpkins. 

But as for now, this is how my apartment is going to be. If you were wondering what was inside of those frames (because I know you are dying to know..) I got together with Google and Photoshop and crafted a few nice little fall messages. Google provided the text while Photoshop fostered the design. Below are the actual documents:


Feel free to snag them, I don't know how like downloading and what not works so you can always let me know if you'd like them and I'll send them your way. The best part is they're only a few cents to print at our your local Wal-mart, and if you don't have one of those around you need to move into a bigger city.

Geeze, this was longer than I anticipated. But I hope this somehow fueled your desire to get hose nice cozy fall decorations up. Because before you know it you'll be taking them down for Christmas, which is fun too.

Happy fall!